
Test-Driven Development in React with React Testing Library and Jest
March 21, 2021.⏱️ 5 min readTest-driven development is a way of managing fear during programming. Fear makes you tentative. Fear makes you want to communicate less. Fear makes you shy away from feedback. Fear makes you grumpy. — TDD By Example
What is Test-Driven Development (TDD)?
Test-Driven Development (TDD) is a software development process in which test cases are developed to specify and validate what the code will do. In simple terms, test cases are created for each functionality and tested first and if a test fails then a new code is written in order to pass that particular test, making the code simple and bug-free.
React Testing Library
React testing library is a very light-weight testing library for testing React components, It provides light utility functions on top of react-dom and react-dom/test-utils, It also encourages good testing practices.
Installation
npm install --save-dev @testing-library/react
or
yarn add --dev @testing-library/react
Jest
Jest is a javascript testing framework created and maintained by Facebook. If you are building your React application with create-react-app Jest will work out of the box with zero configurations, Jest expects to find our test files with any of the following popular naming conventions:
- Files with
.jssuffix in__tests__folders - Files with
.test.jssuffix - Files with
.spec.jssuffix.
Installation
Let’s assume your application is created via create-react-app.
npm install --save-dev react-test-renderer


npm install --save-dev @testing-library/react
The testing command within your package.json should look something like this to run your tests.
{
  "scripts": {
    "test": "react-scripts test"
  }
}
For an application that is not created with create-react-app you can add Jest by following the steps below.
- Add dependencies
npm install --save-dev jest babel-jest @babel/preset-env @babel/preset-react react-test-renderer
- Configure your babel by adding the following to your
babel.config.js
module.exports = {
 presets: ['@babel/preset-env', '@babel/preset-react'],
}
- Add the testing command in your
package.json
{
  "scripts": {
    "test": "jest"
  }
}
We would be using this simple react application created with create-react-app below for demonstration purposes, also this application was built with styled-components, for more information on this you can check here Styled Components

Let’s create a Grid component within the src folder in the components folder called grid.js.
...waiting for Gist...
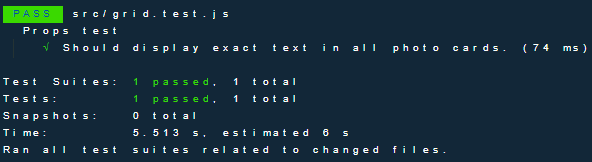
We want to test if the text prop in the Grid component is rendering exactly as we expect it to, now let’s create a file called grid.test.js in the src folder this is where we would be performing our tests.
...waiting for Gist...
Let me explain what is going on here.
‘render’ This renders our react component and returns helpful queries that allow us to find certain elements in the view hierarchy.
‘afterEach(cleanup)’ This basically cleans up everything after each test to avoid memory leaks.
‘describe’ This command allows us to group related tests to produce cleaner output.
‘test’
This runs our test, if you don’t want to use test() you can use it() instead.
‘getAllByText’
This returns an array of all matching nodes for a query by text, in our case it’s ‘New text’ then throws an error if no elements were found.
const elements = getAllByText('New text')
‘expect’
We use this function for testing values along with a “matcher” in our case toBe().
‘toBe’
We use this matcher function to compare the value gotten from the expect function, then make an assertion about the value.
Notice when we run our test case the test we wrote passes.
Well done, now let’s try a snapshot test, I guess you are wondering what’s a snapshot test?
Snapshot testing Snapshot tests are very useful whenever you want to make sure your UI does not change unexpectedly, A typical snapshot test case renders a UI component, takes a snapshot, then compares it to a reference snapshot file stored alongside the test. The test will fail if the two snapshots do not match: either the change is unexpected, or the reference snapshot needs to be updated to the new version of the UI component.
...waiting for Gist...
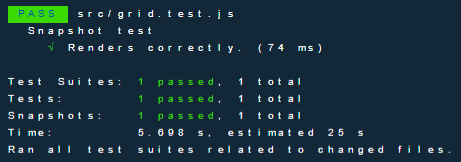
Notice when we run our snapshot test case, the test we wrote passes.
Notice after running our test a snapshots folder is created inside our src folder, this is where all our snapshots will be stored and all snapshot test files have a .snap suffix.
...waiting for Gist...
Okay, now let’s change one or two arguments in our snapshot test.
...waiting for Gist...
Now let’s run our test again.
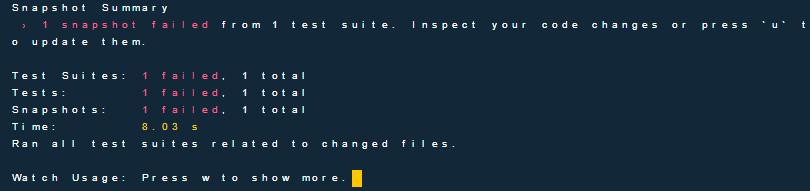
It detected our changes, which means it working as intended.
Conclusion
I believe implementing the test-driven approach when developing your applications is a good way to reduce bugs and increase code quality within your codebase, the bigger the codebase gets, the harder it gets to move further or to change the code but If you have automated tests, they become your safety net, allowing you to identify errors and their location within a short period of time, how it affects the system.